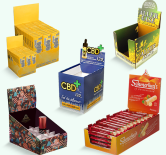

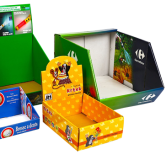
Good toy packaging design does three jobs in this order: it gets noticed from across an aisle or a scrolling feed, it tells a parent or collector what the toy is and who it is for in a couple of seconds, and it protects the toy all the way to the buyer's hands. Most of the design decisions that matter are made before anyone opens Illustrator: where the toy sells, what the box is made of and what has to go on each panel. These are the decisions, in the order we see brands make them.
1. Start with where the toy sells
| Channel | What the design must do |
|---|---|
| Big box retail shelf | Read from six feet away. Name, age and toy visible on the front. |
| Peg wall | Same, plus a hang tab that holds the weight and art that works when boxes overlap. |
| Specialty and gift shops | Look giftable. Finishes and a story on the back matter more. |
| Online marketplaces | Look good as a small square thumbnail and survive carrier handling. |
| Collector market | A box people keep. Consistent art across the series and a lineup panel. |
2. Choose the structure before the art
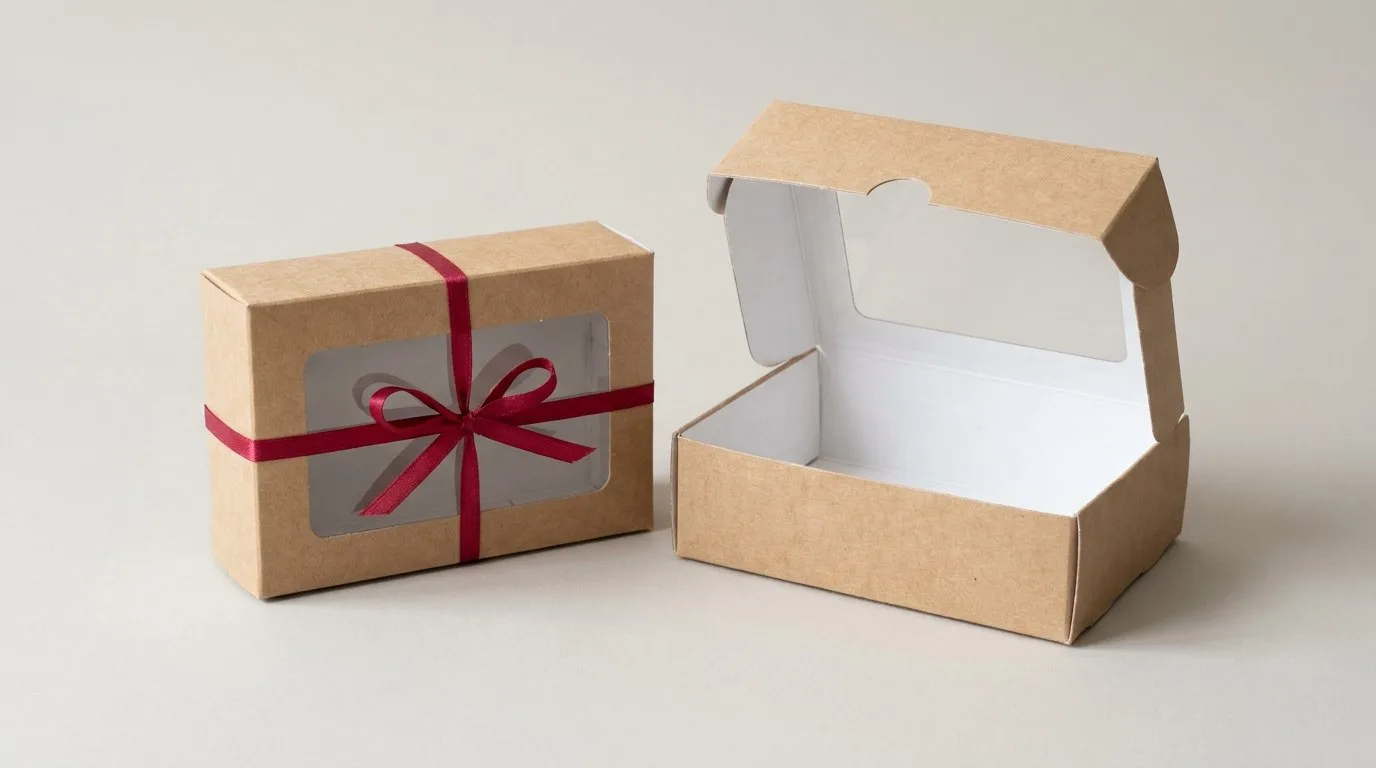
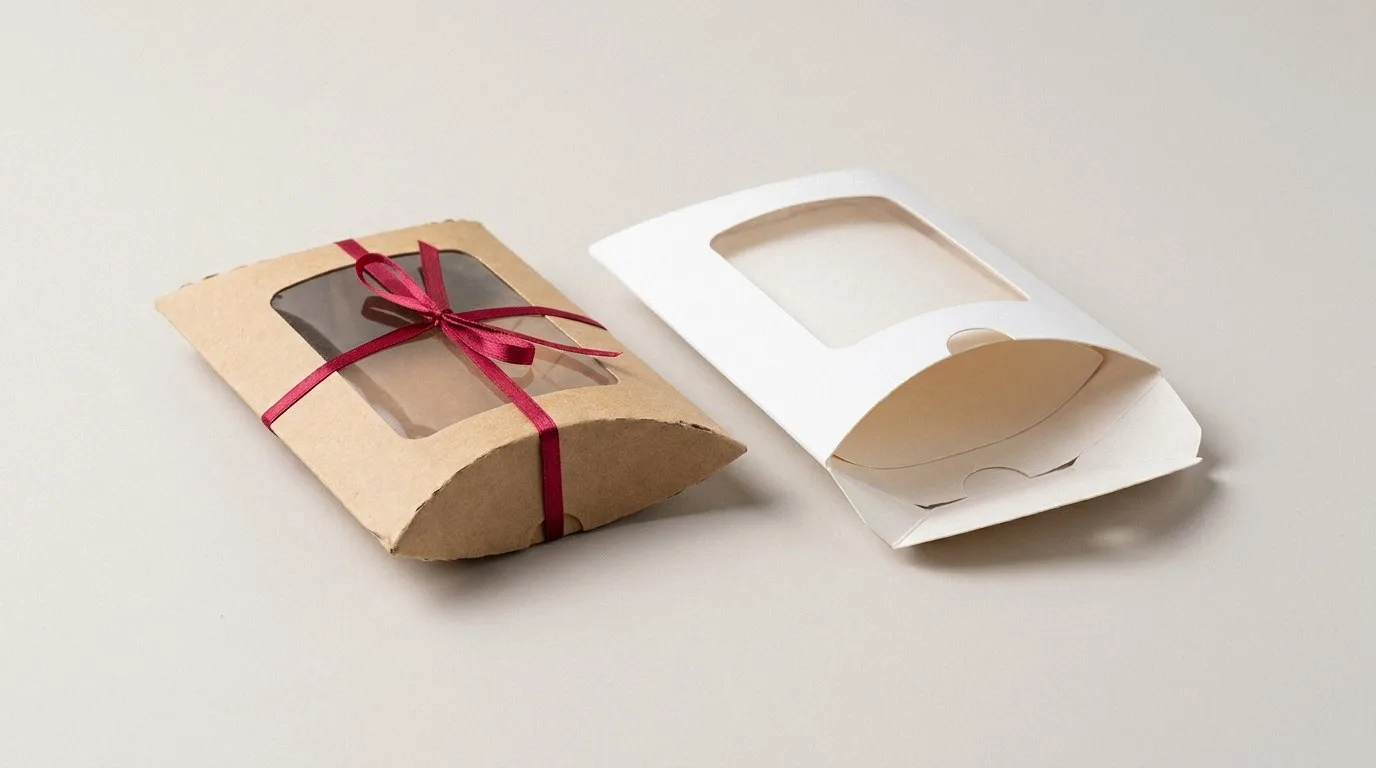
The box style fixes how much space the art has. A window box gives the toy the front panel. A closed carton or blind box puts the whole job on printed art. A rigid collector box trades print area for feel. Get a dieline for the chosen style in your size first. Our dieline templates include a blind box and an action figure window box.
3. Design the front for two seconds
- One hero. The toy, or a photo of it in play. Not three competing images.
- Name and line large enough to read across an aisle.
- Age grade where parents look for it, usually a top corner.
- The required warnings, boxed on the front panel when they apply. Design them in from the start rather than shrinking art later.
4. Let every other panel earn its place
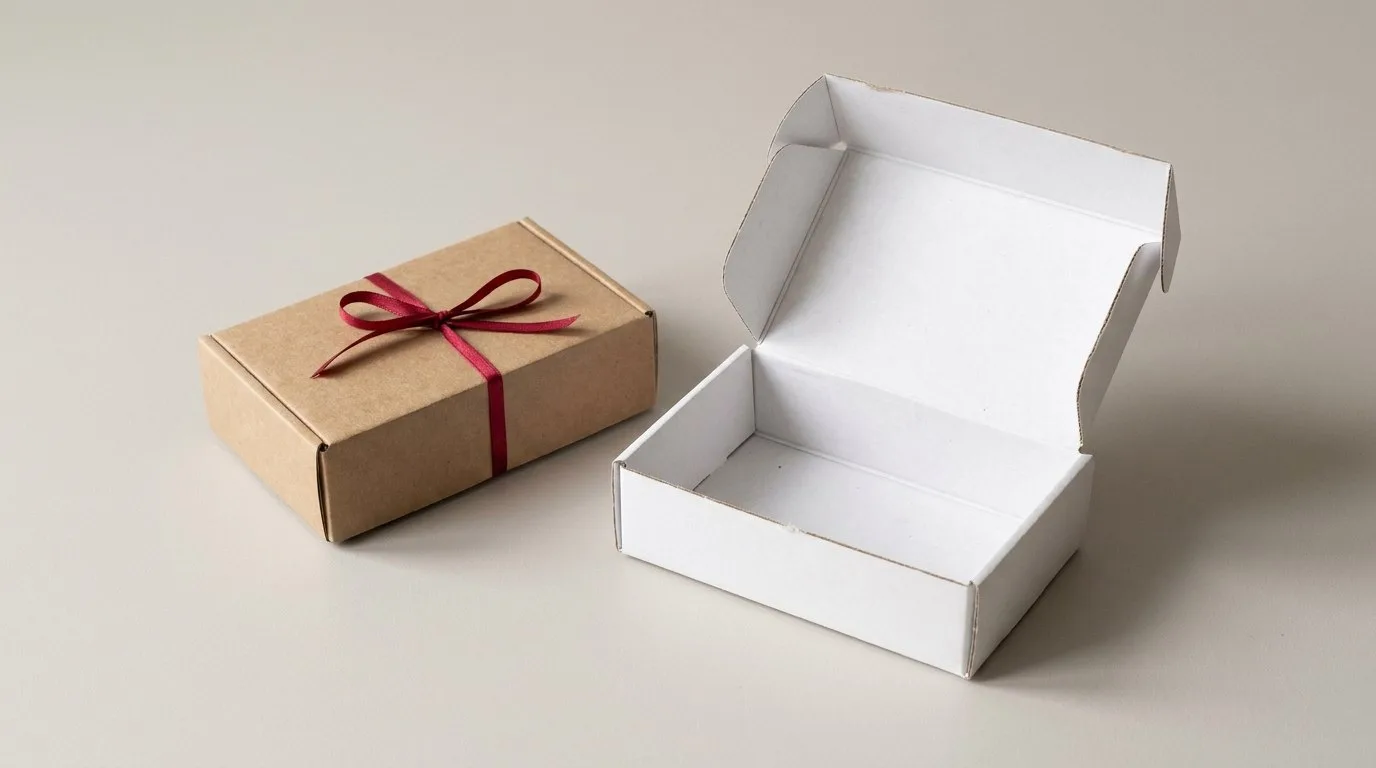
The back sells the second purchase: show the rest of the line, a short story or the play pattern, then the barcode and the legal panel. Sides should carry the name and a character so the box still reads when it is shelved spine out. Print the inside of the lid on mailers and collector boxes, because that is the frame people use for unboxing photos.
5. Pick finishes for handling, not just looks
| Finish | Use it for |
|---|---|
| Gloss lamination | Toy aisle boxes that get picked up a lot. Scuffs less. |
| Matte or soft-touch | Collector and gift lines. Feels premium, shows fingerprints more. |
| Foil stamping | Logos and series names. Catches light on a shelf. |
| Spot UV | A raised gloss on the character or title over a matte base. |
| Embossing | Logos on collector boxes people run a thumb over. |
Our comparison of foil stamping and spot UV covers when each is worth it.
6. Plan the inside
A toy that slides around looks cheap through a window and breaks in transit. Use a die-cut paperboard tray or a foam insert, give each accessory its own slot, and bag anything that sheds, smells or could leak. Squishies have their own quirks, covered in how to package squishies.
7. Design the shipper with the box
Decide how many retail boxes go in a case before the retail box size is final. A box a quarter inch too wide can drop a case from 12 to 8 units and raise freight on every order. If the toy sells online, check its dimensional weight early.
8. Think about the material story
Parents increasingly notice how much plastic a toy comes in. Paperboard trays instead of molded plastic, a smaller window, and soy or water-based inks are easy wins that can go on the box as a short line. Keep claims specific and true, such as "paperboard tray" rather than a vague "eco friendly".
9. Proof it like a buyer
- Print the proof at actual size and hold it six feet away. Can you read the name?
- Shrink the front to a phone thumbnail. Does it still say what the toy is?
- Fold a printed sample. Do the windows, warnings and barcode land where they should?
- Check the legal copy against your lab's list. Our labeling guide explains each rule.
Every order with us includes a free digital proof, and you can ask for a printed sample before the run.
Design help is free. Send your toy and brand files and we will set them on a dieline sized to your toy, with a quote within one business day.
Get a free quoteSee toy packaging
Toy packaging design questions
What makes good toy packaging design?
A front that reads from across an aisle, a clear name, age grade and toy image, panels that sell the rest of the line, required warnings designed in from the start, and an insert that keeps the toy looking right.
Should a toy box have a window?
If the toy itself is the main selling point, such as a figure, doll or squishy, a window usually sells better. Blind boxes and kits with many small parts rely on printed art instead.
What should go on the back of a toy box?
The rest of the line, a short story or play pattern, the barcode, and the legal panel with the producer name and address and the country of origin.
How do I make toy packaging more sustainable?
Swap molded plastic trays for paperboard, keep windows small, use paper fill instead of plastic, and print a specific, true line about the materials.