
Want your logo on a box? Get a free quote in minutes
Free design help, free dielines, free samples, no minimum order, and we beat any competitor’s written quote on a like for like specification.
There are six sensible ways to get custom boxes with logo branding, and they are not interchangeable. The right one depends on your box material, how many you are ordering and whether the logo needs to be felt as well as seen. A one color flexo print on a corrugated mailer and a blind deboss on a rigid gift box are both correct answers, to different questions. Below is what each method actually costs you in trade offs, and which box each one suits.
1. One color flexo print
A raised rubber plate inks the board directly. It is the standard way corrugated gets printed and the cheapest per box by a wide margin, because there is one plate and one pass.
It is excellent at flat solid color and poor at gradients, photography and hairline detail. A logo that is a clean shape reproduces beautifully. A logo with a soft drop shadow does not. If your mark has fine lines thinner than about 0.5 pt, expect them to thicken or break up on kraft.
Use it for shipping boxes, ecommerce mailers, anything corrugated where you want the brand visible and the cost low.
2. Full color litho or digital print
Four color process, so photography, gradients and unlimited colors are all available. On folding cartons this is the normal route. On corrugated it means litho lamination, where a printed sheet is bonded to the board, which looks superb and costs more.
The honest caution: full color is not automatically better. A four color build of a brand color drifts between runs in a way a spot color does not. If your logo has one exact shade that people recognize, give us the Pantone number and consider printing it as a spot even inside a full color job.
Use it for retail cartons, cosmetics, food packaging, anything where the artwork carries the sale.
3. Foil stamping
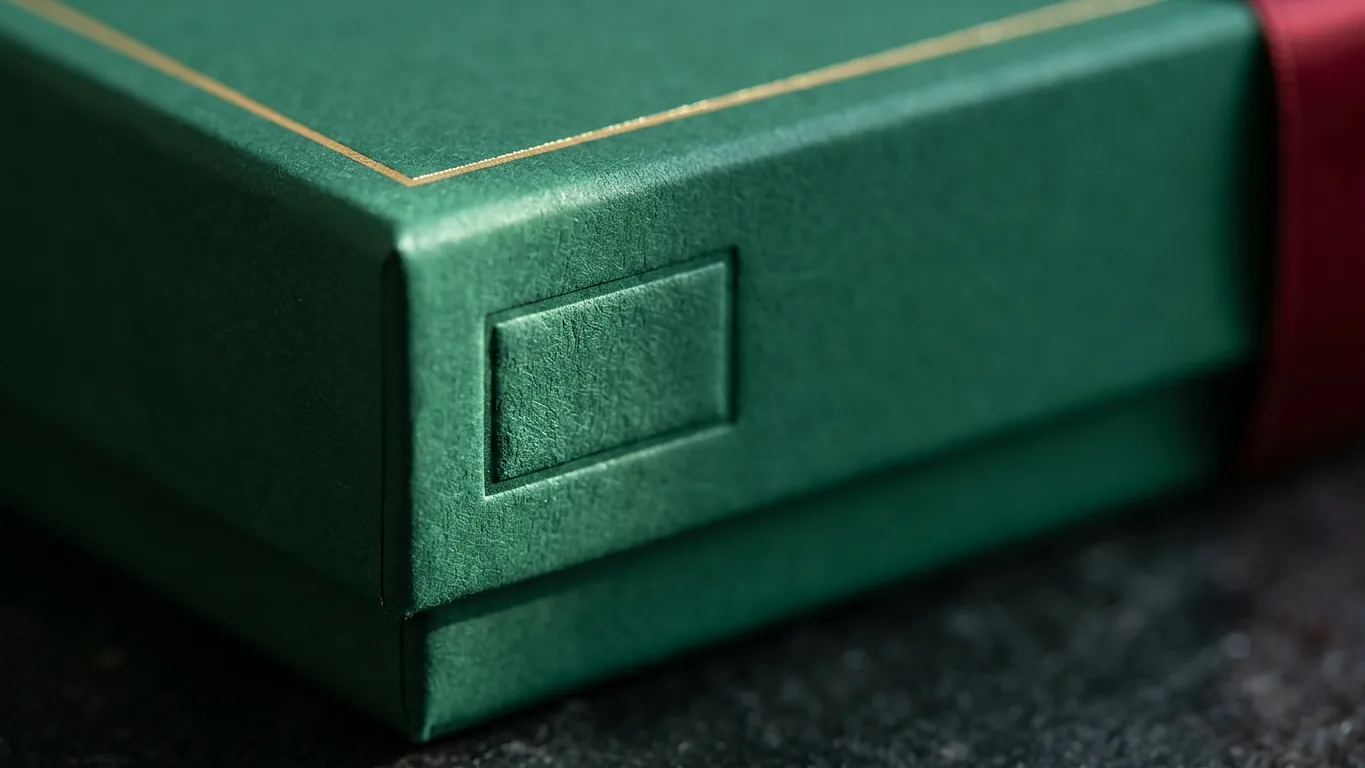
A heated metal die presses foil onto the board. Gold, silver, copper, rose gold, and matte or gloss versions of each. It catches light in a way printed metallic ink never quite manages, and it reads as expensive from across a room.
You pay for a die, which is a one time tooling charge per design, so foil suits a logo you are not about to change. Keep the artwork simple. Very fine detail and small reversed type fill in under the heat and pressure, and a foil logo below roughly 0.75 in across starts losing its edges.
Use it for rigid gift boxes, perfume, jewelry, anything premium. A small foil mark on a restrained box outperforms a large one nearly every time.
4. Embossing and blind deboss
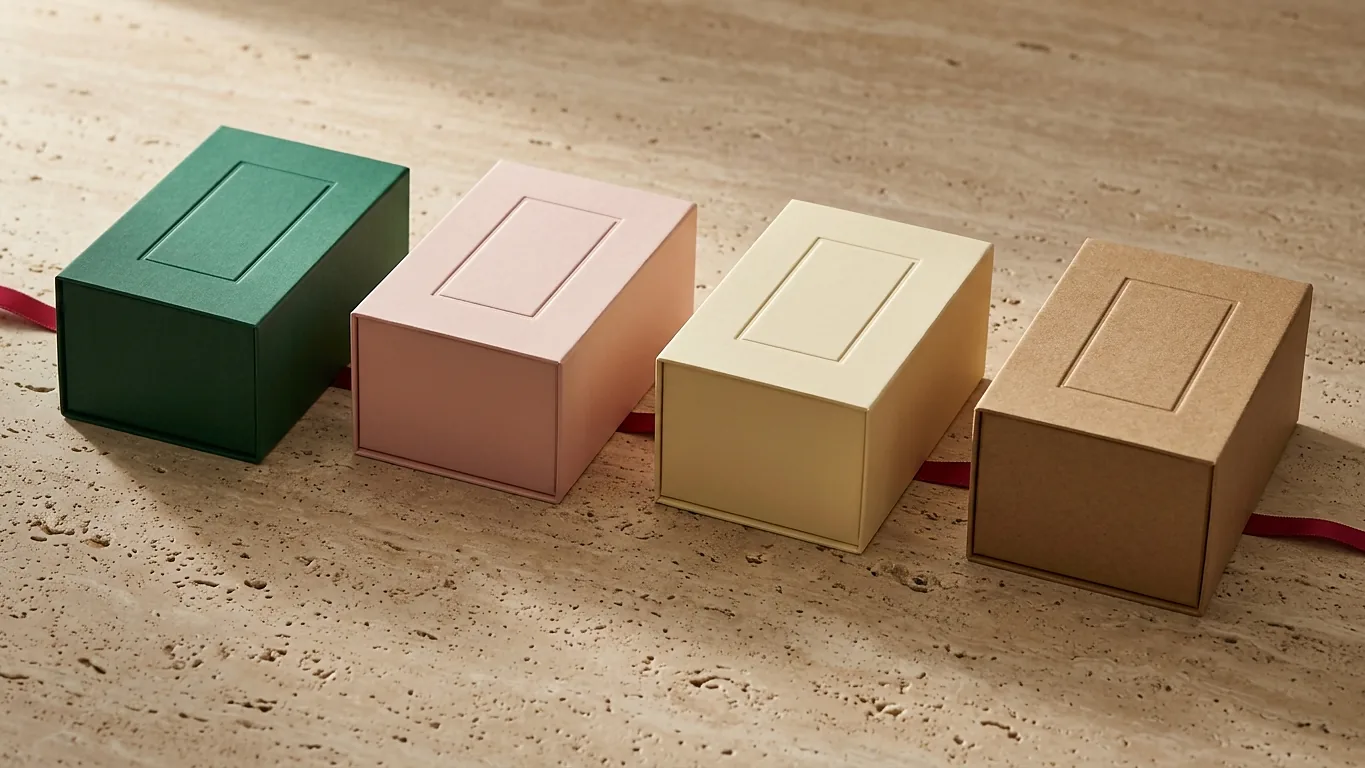
Embossing pushes the logo up from the surface. Debossing presses it in. Blind means no ink and no foil at all, just the impression, and it is the most restrained branding available. On soft touch laminate a blind deboss is genuinely lovely to handle.
Like foil it needs a die. It works best on heavier stock, roughly 18 pt and up on folding carton, and on rigid board where there is depth to press into. On thin corrugated it can crush the flute rather than form a clean impression.
Use it for rigid boxes, luxury cartons, and any brand whose whole identity is understatement.
5. Spot gloss over a matte finish
The box gets a matte laminate, then a gloss varnish is applied to the logo only. The mark appears and disappears as the box turns under light. No die required, no foil, and it is the cheapest way to make a box look considered.
It needs the contrast to work, so it does nothing on an already glossy box. There is a fuller comparison in our guide to foil stamping and spot UV.
6. Printed tape and printed labels
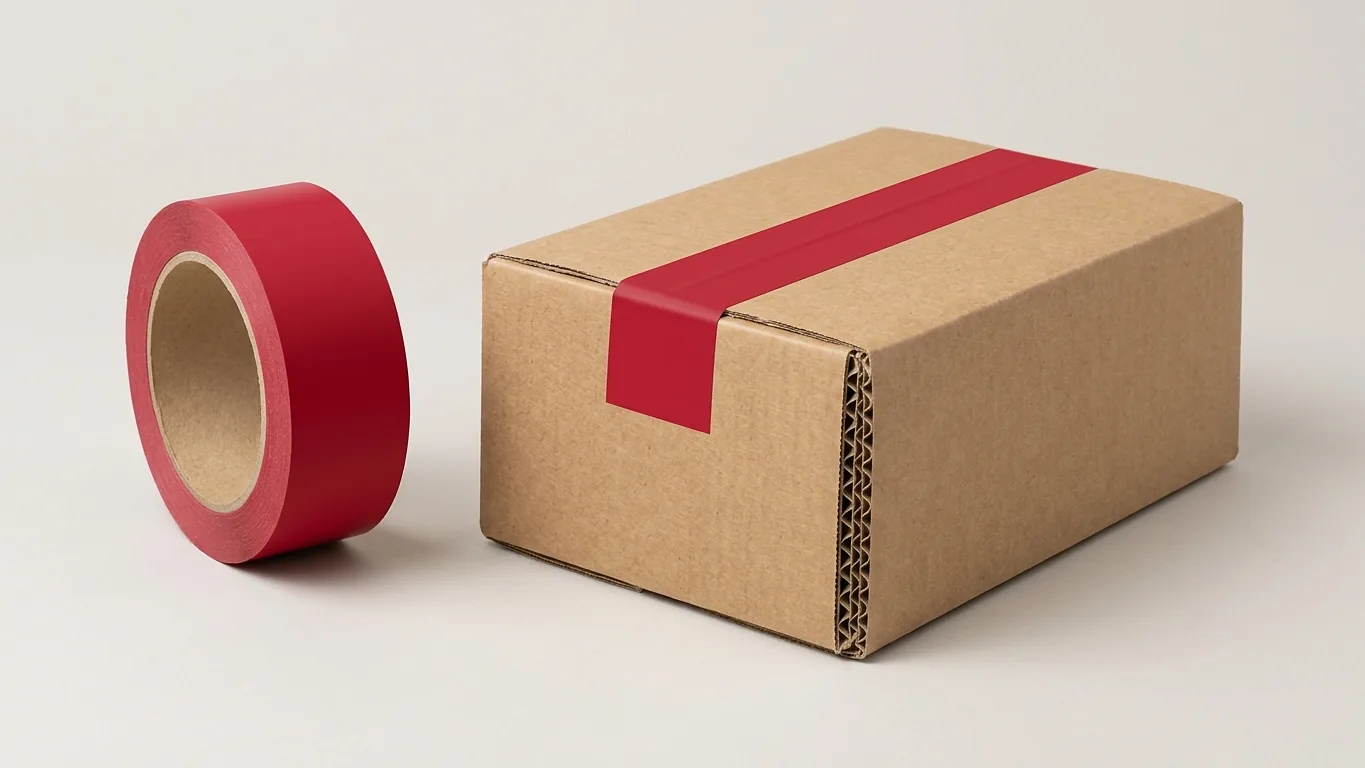
The route people forget. Buy plain stock boxes, then brand them with custom printed tape or a printed label. Your logo runs down the seam of every carton and across the top of every parcel, and you can change the artwork whenever you like without touching your box inventory.
It is not as impressive as a fully printed box, and I would not pretend otherwise. But for a business shipping mixed product sizes out of several stock cartons, it brands everything at once for a fraction of the outlay. It is also the sensible bridge while you are still working out which box sizes you actually need.
Matching the method to the box
- Corrugated shipper or mailer. One color flexo. Two colors if the logo needs it. Litho lamination only when the outside really is doing sales work.
- Folding carton for retail. Full color print, with a spot color for the brand shade, plus spot gloss if you want lift.
- Rigid gift or luxury box. Foil or blind deboss on a wrap, usually both. This is where tooling charges earn their keep.
- Mixed stock inventory. Printed tape, and put the money into one good box later.
One thing that decides more than the method
Placement. A logo centered on a big empty panel looks like a placeholder. A logo sized to about a third of the panel width, sitting off center with real space around it, looks designed. On a mailer, the inside of the lid is worth more than the outside, because that is what the customer sees first when the box opens and it is what ends up in unboxing photos.
Keep the mark at least 0.25 in clear of every crease. A logo that straddles a fold gets a valley through it once the box is assembled, and on a heavy solid color the coating can show a fine pale line along that fold. Scoring before folding is standard on our end and it is what stops that crack opening up, but placement still matters.
What your logo file needs to be
- Vector. An AI, EPS or PDF where the logo is made of paths, not pixels. It scales to any size without softening. A PNG off your website is 72 dpi and will not hold up.
- A one color version. Solid black on transparent. You need this for flexo, foil and deboss, and if you do not have one somebody has to make it, which is usually us.
- Pantone references for any color that has to match across reprints.
- Clear space rules, if your brand has them, so we do not crowd the mark against a fold.
- A realistic minimum size. Simple marks hold down to about 0.5 in printed. Foil and deboss want 0.75 in or more. Detailed marks want more again.
Do not have any of that? Send whatever you have. Free design help covers redrawing a simple mark as vector and building the one color version, and you get a digital proof before anything runs.
When you know the format, the detail lives on the money pages: custom mailer boxes, custom shipping boxes, custom gift boxes and custom rigid boxes. All printed with no minimum order, so you can put your logo on fifty boxes rather than five thousand.
Custom boxes with logo FAQ
What is the cheapest way to put a logo on a box?
Custom printed tape on plain stock boxes is the lowest cost route, because you are not paying to print the box at all and one roll of tape brands every carton size you ship. After that, a one color flexo print directly on corrugated is the cheapest printed option, since it uses a single plate and one pass. Full color, foil and deboss all cost more, and foil and deboss also carry a one time tooling charge for the die.
What file do I need to print my logo on a box?
A vector file, meaning an AI, EPS or PDF where the logo is built from paths rather than pixels, so it scales to any size without going soft. You also want a one color version in solid black on a transparent background, because flexo, foil stamping and debossing all need it. Add Pantone references for any brand color that must match across reprints. A PNG pulled from a website is normally 72 dpi and will not hold up at print size.
How small can a logo be on a box?
A simple mark holds down to roughly 0.5 in printed. Foil stamping and debossing want 0.75 in or larger, because heat and pressure fill in fine detail and small reversed type. Complex marks with thin strokes need more size again, and on kraft corrugated any line thinner than about 0.5 pt tends to thicken or break up. If your logo is detailed, a simplified version for small applications is worth having.
Should I use foil stamping or printed metallic ink?
Foil, if the premium look matters. A heated die presses real metallic foil into the board and it catches light in a way printed metallic ink cannot match, which is why it reads as expensive from a distance. The trade off is a one time die charge per design, so it suits a settled logo rather than one you are still changing. Keep the artwork simple, because fine detail fills in under the heat and pressure.
Can I get custom boxes with a logo in a small quantity?
Yes. We print with no minimum order, so branding fifty boxes is a real order rather than a quantity we round up. Cost per box does fall as the run grows and we will tell you where that curve bends, but nothing forces you into a quantity you cannot use. Foil and deboss carry a die charge that is easier to justify at higher volumes, so on very short runs a printed finish often makes better sense.
Which branding method suits a corrugated shipping box?
One color flexographic printing, in almost every case. It prints directly onto the board, handles flat solid color well and is by far the cheapest per box. Add a second color if the logo genuinely needs it. Litho lamination gives you full color photography on corrugated by bonding a printed sheet to the board, but it costs considerably more and only earns its place when the outside of the box is doing real sales work rather than just shipping the product.